If spring’s arrival has got your creative juices flowing, we have just the styles to inspire. Pairing seasonal pastels, brights, neutrals and blushes, these nail art looks are quick and easy to achieve - ideal for uplifting work wear, finessing a casual weekend outfit or adding an eye-catching edge to an evening ensemble.
Ahead of the curve

Contrasting bold, bright colours with a light blush background, this look really elevates a neutral nail - an ideal trick for a quick manicure touch-up if your daytime look needs to then carry to an evening out.
How to:
- Apply two thin coats of Flapper and allow to dry fully
- Dip a fine brush or cocktail stick in Extravagant and Stone and add curves wherever you wish
- Fill in each curved shape, building two thin layers (rather than a single thick one)
- Seal in shine and longevity with a layer of top coat
Pastel ombré

This dip-dye design is a pure delight! Versatile for casual or evening wear plus flattering on all nail lengths and shapes, it’s perfect for sunny days or nights, ideal for springtime weddings and a look you’ll continue to love into the summer transition season.
How to:
1. Apply two thin coats of Folie Douce and leave until almost dry
2. Apply a thin coat of Charleston at the nail tip, then use a clean nail brush to blend down
3. Once dry, finish with a layer of top coat for a long-lasting gloss and chip-resistance
Sweet like (mint) chocolate

Fresh and creamy with a few playful swirls, this sweet pastel design adds a dose of contemporary cool to a casual everyday ensemble. Simple and swift to achieve, experiment with swirl size and polish colours to make this look work with any daytime wardrobe.
How to:
- Apply two thin coats of Minty Fresh and allow to dry fully
- Dip a fine brush or cocktail stick in Viva La Vegan and draw smooth curves across the nail
- Repeat as desired to add depth and shape (your swirls don’t have to mirror each other - freestyle it)
- Once dry, add a single layer of top coat for a chip-resistant, high-shine finish
Blush gradient

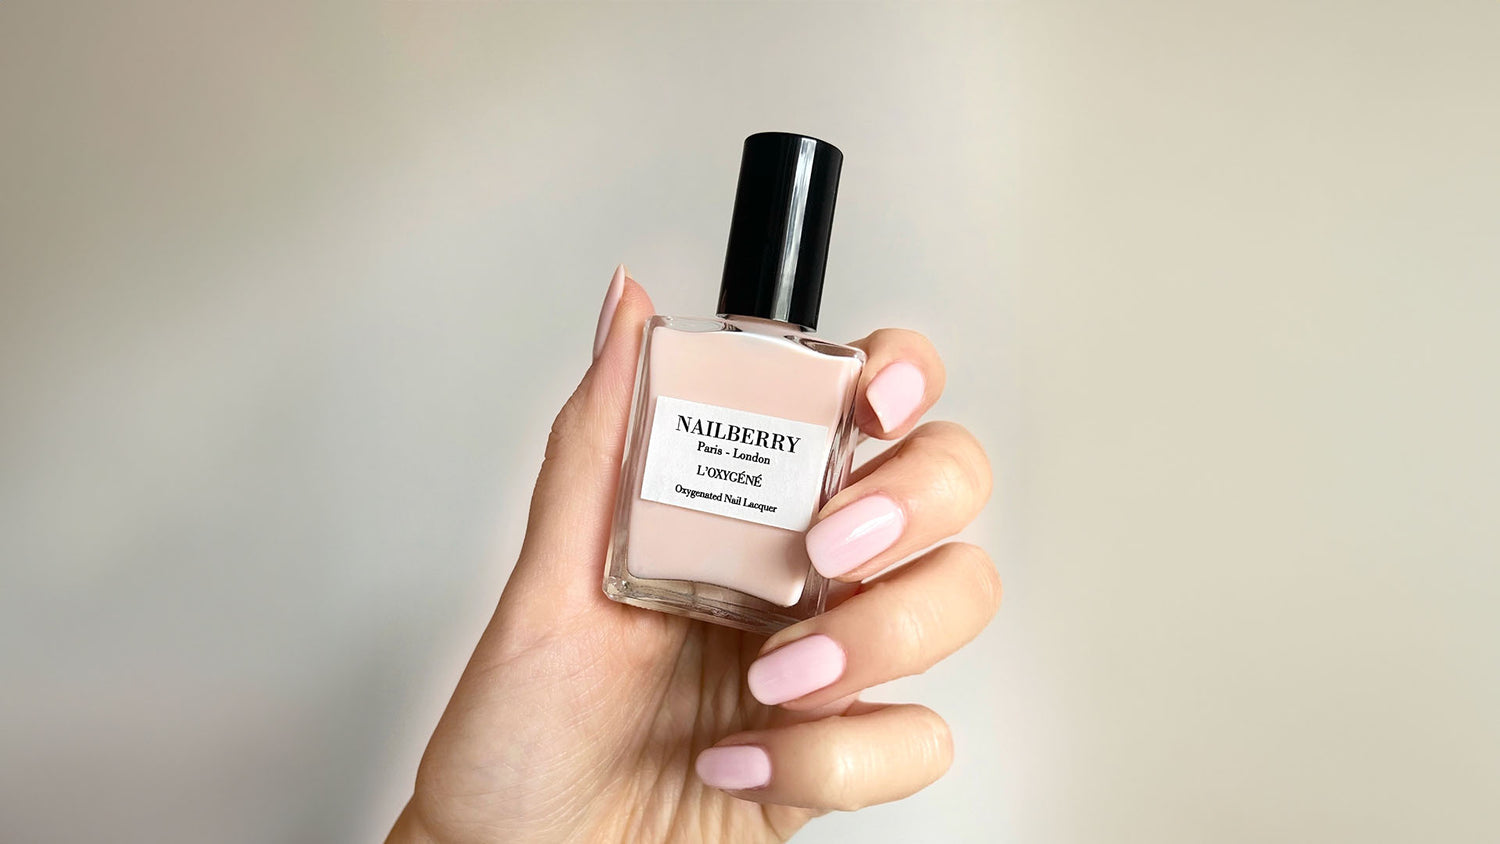
Subtle and sophisticated with just the perfect amount of distinction, this pretty gradient design uses all the bestselling blush shades in our pink polish collection. Easy yet effective and so very versatile, it’s an elegant look that works wonderfully with office, everyday and occasionwear.
How to:
- Pick out Au Naturel, A Touch Of Powder, Flapper and Kindness
- Decide if you want a gradual gradient or to mix up the colours
- Apply two thin layers of each colour to nails and allow to dry fully
- Elevate shine and staying power with your choice of top coat
Pink French twist

We love this fresh spring twist on a classic French manicure. The muted rose base and ultra-fine pop of bright pink beautifully compliment each other, creating an elegant look with eye-catching detail that’s sure to raise a smile each time you catch a glance.
How to:
- Apply two thin coats of Romance and allow to dry fully
- Use a fine brush to carefully sweep Pink Tulip along the nail tip
- Allow to dry, then repeat step 2
- Add a single layer of top coat for a glossy, long-lasting finish
Sweet spring hearts

Whether a weekend lunch with friends or date day with your special someone, express your playful side with this fun, super-sweet style. Opt for hearts on every nail, or choose one or two to create a statement nail.
How to:
- Apply two thin coats of Pink Tulip and allow to dry fully
- Dip a fine brush or cocktail stick in Flocon and carefully draw on love hearts
- Fill in each heart, building two thin layers (rather than a single thick one)
- Finish with a layer of glossy, oxygenated and colour-protecting top coat
Flower power


The spring season is the perfect time to incorporate a joyful burst of floral nail art into your mani. This look is simple, versatile and stylish, inspiring you to play with colour, size and shape of detailing, whether you want a subtle or standout finish.
How to:
- Layer on two thin coats of Elegance for a subtle look or choose Peony Blush to make nails pop
- Depending on your base colour, dip a fine brush or cocktail stick in contrast colours ( Flocon, Au Naturel, Bubble Gum or Jazz Me Up are ideal) and carefully dot flower shapes onto one or more nails
- Repeat as desired to add colour depth and allow to dry fully
- Add a final layer of your favourite Nailberry top coat for a long-lasting, beautifully glossy mani
Show us your spring styles! We’d love to see what Nailberry nail art looks you’re working this season. Tag us on Instagram at @nailberry_ using #colouryournailshealthy