With the newly released Barbie movie taking the world by storm, searches for pink nail looks have soared like never before. Inspired by the movie premiere’s red carpet looks, we’re channelling our finest, most fun Barbie vibes in this latest masterclass: Easy how-tos to recreate six radiant, Barbie-ready manicures. From chic, minimal styles to shimmer and striking blooms, there’s something here for everyone. We can’t wait to see your creations - be sure to tag us @nailberry_
Colour Block French Barbie

We simply can’t get enough of the renaissance of the French manicure. If you love this look too, but seek something more vibrant and playful than the more subtle two-tone look above, this colour block style is for you.
How to:
- Apply one layer of your chosen Nailberry base coat and allow to fully dry
- Sweep on two thin coats of Pink Tulip, letting each one dry before applying the next
- Dip the tip of your nail brush in Hollywood Rose and sweep onto tips. Once dry, add a second layer if desired
- Boost shine, wear and longevity with UV Gloss Top Coat
Sheer Shimmer Barbie
![]()
This mix of subtle, pearlised shimmer and statement pink swirls is mesmerising. Perfect for elevating a casual daytime look and ideal for fun, evening wear, it’s a unique and effective style that’s pretty effortless to recreate.
How to:
- Apply a thin coat of Strengthen and Breathe base coat and allow to dry fully
- Build two thin layers of Star Dust, allowing each to dry fully before applying the next
- On a small sheet of grease-proof baking paper, add sweeps of Pink Tulip, Bubble Gum and Flocon. Use a nail brush to slightly overlap the colours
- Take the brush and apply to nails, drawing on smooth curves wherever you desire
- Seal in shine and longevity with a layer of top coat
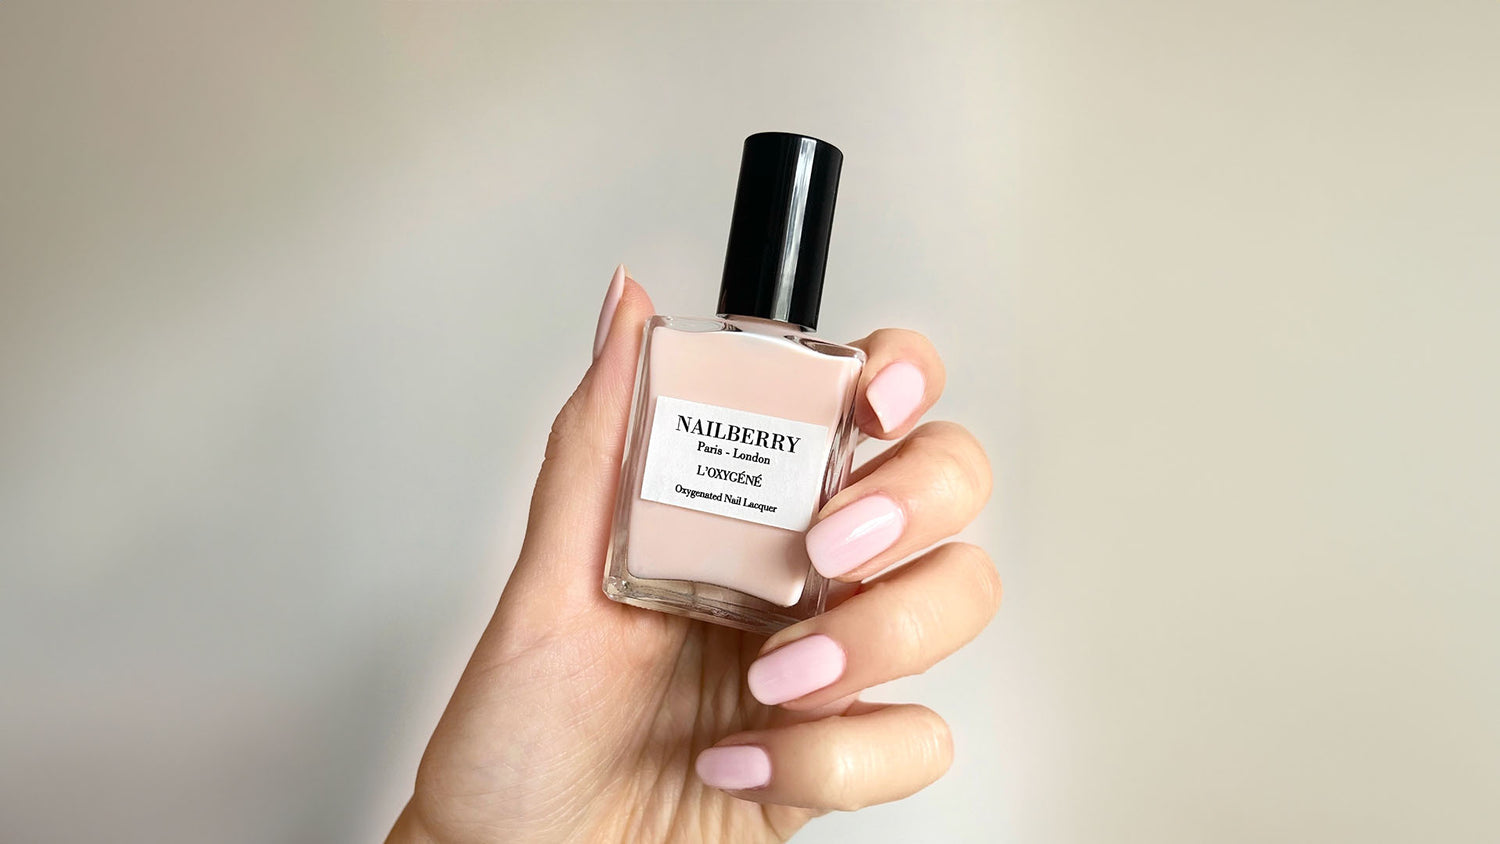
French Barbie

Inspired by Margot Robbie’s two-tone nails at her Seoul premiere of the Barbie movie, we’ve created this easy, chic, minimal French mani. A base of soft, baby blush with a pop candy pink tip, we’re sure you’ll love it long into the summer season after Barbie mania is over.
How to:
- Begin by applying either one or two layers of Acai Nail Elixir, allowing each to dry fully.
- Dip the tip of your nail brush in Pink Tulip and carefully apply to tips. Once dry, add a second layer if desired
- Finish with a single sweep of UV Gloss Top Coat for a chip-resistant, super-shiny finish
Fun, Floral Barbie

Summertime style and fun, floral nail art are matchmade. This look might require a steady hand, but is otherwise super-simple to recreate. Stick with one or two blooms as a subtle choice or get playful with colour to achieve your desired detailing or statement finish.
How to:
- Begin with Strengthen and Breathe base coat to create a smooth canvas
- Create the barely-there blush French by pairing a layer of Candy Floss with Romance tips. Be sure to let each layer dry fully before adding the next
- Choose pink-coral Bubble Gum to create one or two statement colour nails
- Add floral detailing using a fine brush or cocktail stick dipped in Romance, Pink Tulip, Hollywood Rose and Bubble Gum
- Complete your long-lasting, beautifully shiny mani with a finishing sweep of Fast Dry Gloss top coat
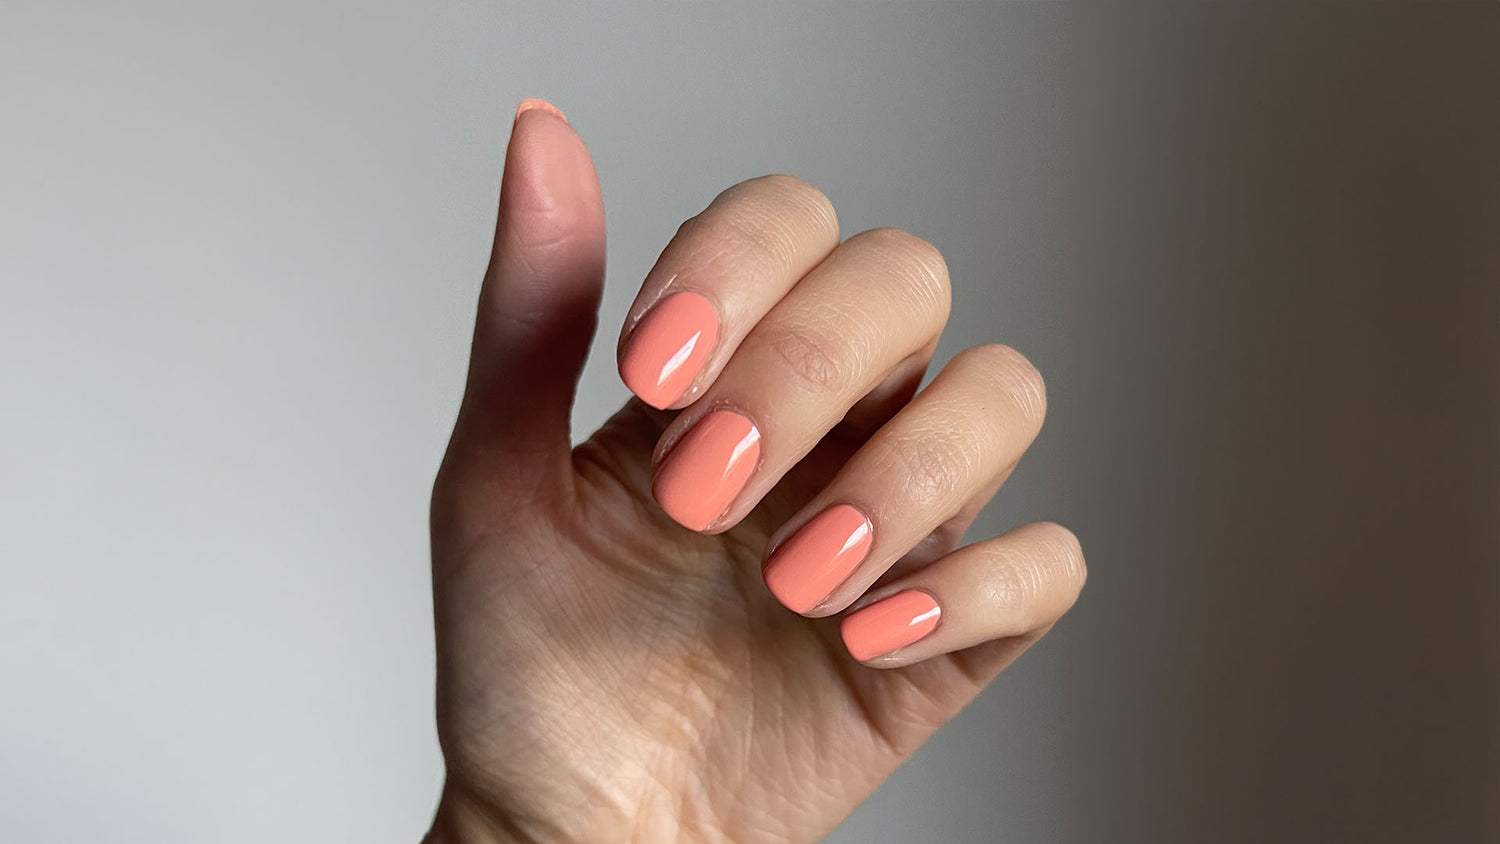
Juicy Blush Barbie

So simple, so effective! Where there just isn’t the time or, perhaps, desire for nail art, opt for this ultra-juicy blush look. The sweet, sorbet-pink hue of our bestselling semi-sheer nail gloss couldn’t be a more perfect pick for this latest Barbiecore trend.
How to:
- Apply a thin coat of base coat and allow to dry fully
- Sweep on two thin coats of Pink Guava, ensuring each is layer dry before adding another
- Lock in that lip-gloss effect and enjoy your plumpest, juiciest, salon-gel-like finish with a final layer of UV Gloss Top Coat
Barbie Blush Gradient

Eye-catching and uplifting, this gradient style celebrates pink polish in all its glory - and it’s versatile enough for daytime, office and even evening wear. Effortlessly effective, you can tailor the finished look to your heart’s desire by simply switching for other favourites pinks.
How to:
- Here, we chose Elegance, Pink Guava, Bubble Gum, Pink Tulip and Sacred Lotus
- Decide if you prefer a gradual gradient from pinky to thumb, or to mix up the colours
- Start with a layer of Strengthen and Breathe base coat
- Once dry, apply two thin coats of each colour to nails, allowing the layer to dry fully before adding the next
- Lock-in shine, vibrancy and staying power with your choice of top coat